In OZmob, you can edit all client information, click on the desired client and modify the field you want.
You can also add new clients. To do this, open a box and click on an available port, as shown in the example below:

When you click on the port, three options will appear:
Create new client
When adding a client, you’ll need to fill in the fields with the client’s information. You can also edit the client’s location on the map and draw the drop, as shown in the example below:

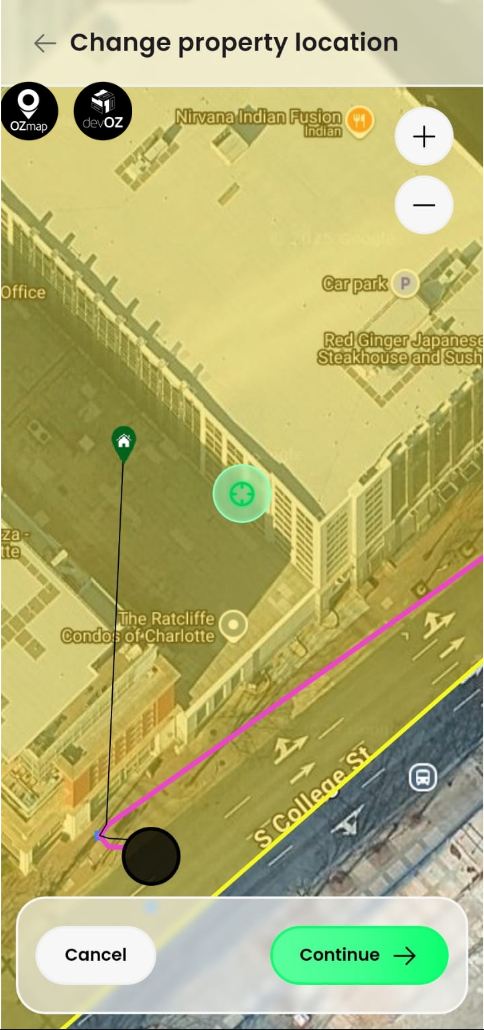
To adjust the client’s location on the map, go to the “Property” tab and click “Edit location on map.” Then, place the client in the desired position and click “Continue” to save the new location.
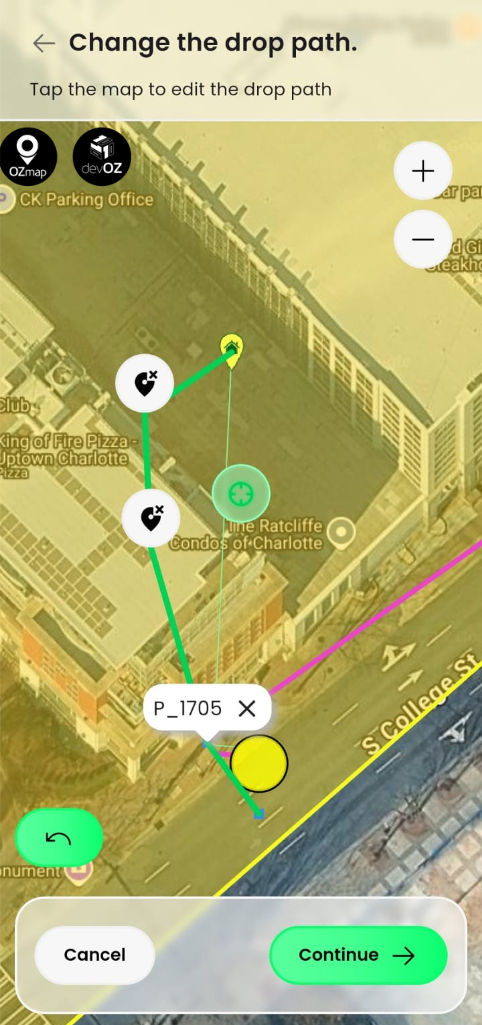
After setting the position, you can modify the drop path by going to the “Network” tab and clicking “Change drop path.” Then, simply click on the map to indicate the cable route, marking the points or poles it passes through. To finish, click “Continue”.

If you don’t draw the client’s drop, they will be added to a random position near the selected box.
2. Search for nearby clients
In this option, you can search for a client that already exists in your database within a specific area.
After selecting, a field will appear where you can specify the area in which the system should search for clients. All clients within that radius will be displayed, and you can choose which one to connect to this port. By default, the radius is 250 m, but you can change it by editing the “Search radius” field.

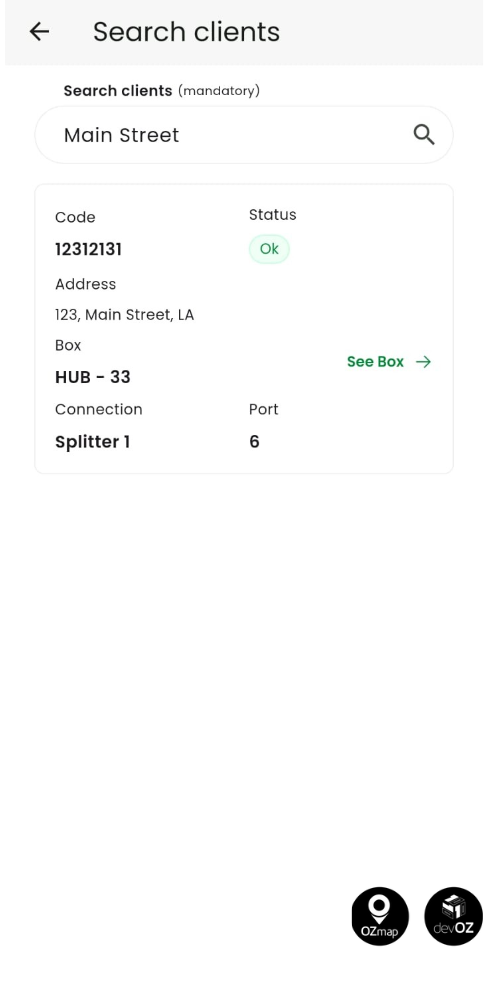
3. Search clients
Here, you can search for clients using any information associated with them, such as their code, name, or address.
In this example, the search was done using the street name, and the app returned all clients on that street. You can then choose which client you want to connect to this port.
Details
Your client will have three types of information: Property, Client, and Network.
The property details include tags, notes, address, and coordinates.

The client details field will contain the client’s name, code, status, deployment status, tags, and notes, as well as ONU information.

The network details will include information about the elements related to the client (pole, box, and drop), the power, options to change the client’s position, redraw the drop, and view the schematic, as well as information about the connection type (fusion or connector) and the port to which the client is connected.

Position editing
You can edit the client’s position. Once the client is open, go to the “Network” tab and click “Change position”.
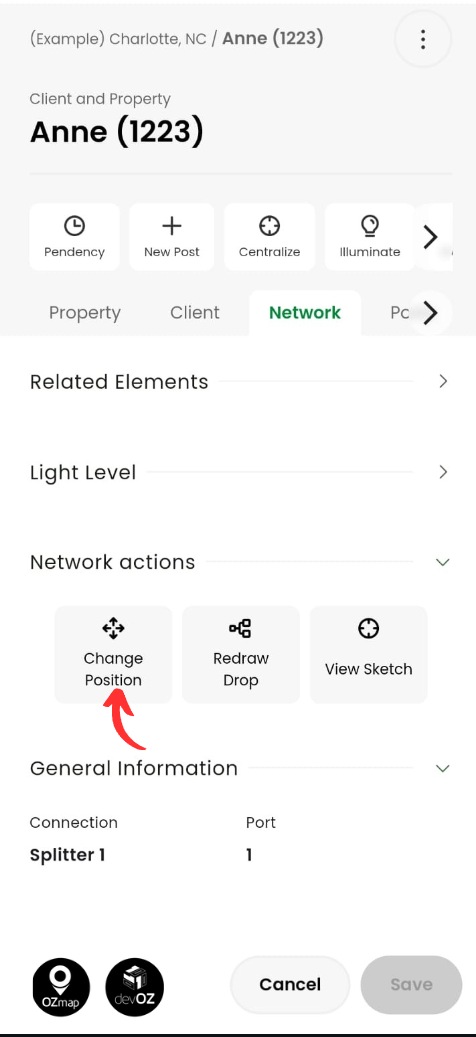
The map will open. Move the central marker to the desired new location and click “Continue”.
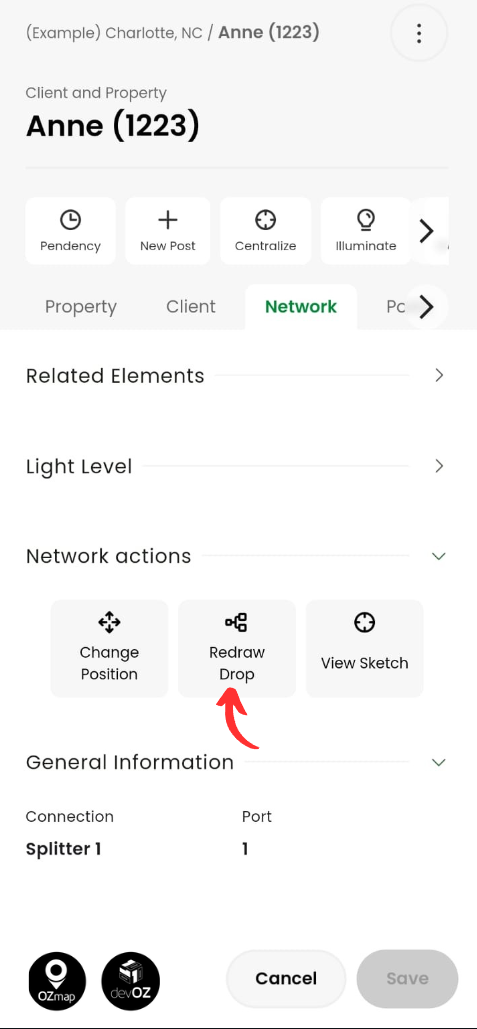
Drop drawing editing
You can also edit this drawing. To do so, click the “Redraw Drop” button.
The map will open. To add new points or cables to the drop drawing, simply click on the desired locations. To remove points, click the icon highlighted in the image below. To save the drawing, click “Continue”.
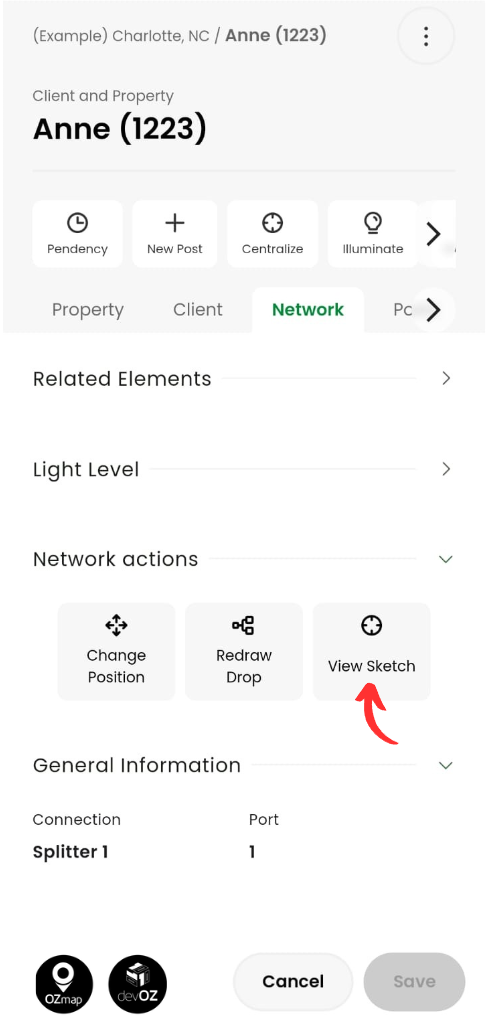
Schematic
If you want to view the schematic, click the button shown in the image below:
The image will load, displaying information about the client and the path between the client and the box, as shown in the example below:

Posts
To view and add posts for the client, go to the “Posts” tab. To create a new post, click “New Post”.

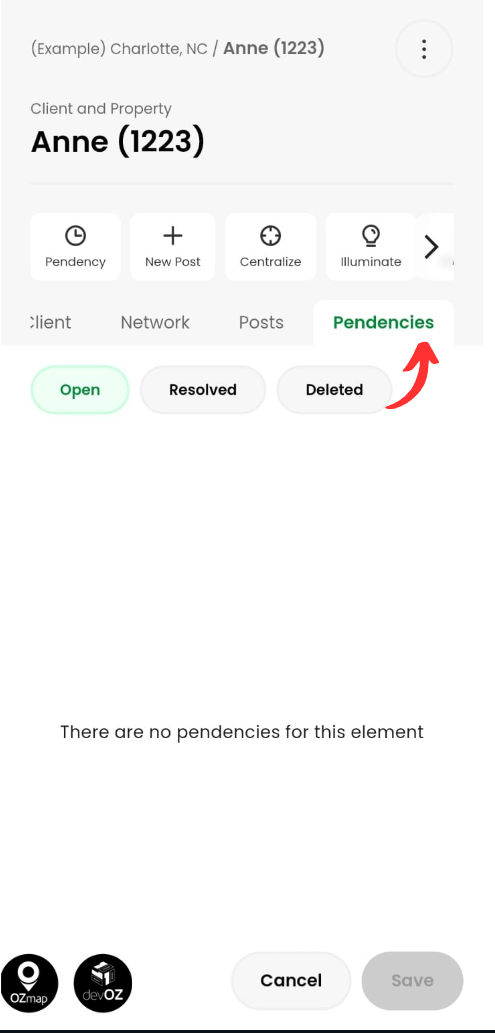
Pendencies
In the “Pendencies” tab, you will see all issues linked to the client, and you can filter them by open, resolved, or deleted.